This workshop is designed to be run on pre-imaged Amazon Web Services
(AWS) instances. For information about how to
use the workshop materials, see the
setup instructions on the main workshop page.
This workshop is adapted to work on CURC Alpine for the graduate class CM580A3 at Colorado State University. All instructions that follow apply specifically to CSU users, and were determined in April of 2023. Some of the details may change with system administration changes.
Getting an account for CSU users
Step 1. You must have a valid CSU NetID and Duo two-factor authentication enabled
You must have a valid CSU NetID and Duo two-factor authentication enabled to apply for an account on Alpine through CSU.
Step 2. Using DUO and NetID to request an account
To get started, request a CU-Boulder account. Note that you must use DUO to authenticate through this form. In the password field, type your CSU NetID password, then a comma, then the word “push” or the DUO key generated by your device.
For example, if your password was ilovealpine and your DUO key is 123456, you would type:
ilovealpine,push
OR
ilovealpine,123456
Step 3. Request RMACC account.
Request form for an account on the system
Follow the instructions starting at You will then be asked to provide information about your account. (right above the screenshot).
Step 4. Email Verification.
You should receive an immediate, open ticket confirmation from rc-help@colostate.edu. The account will created by the system administrator and you’ll be notified by a second email.
Once receiving that notification, you can log in to the system
Logging on once your account is created
There are two ways to connect and use the Alpine system. One is through OnDemand (described below) and the other is a direct ssh from your computer.
- https://ondemand-rmacc.rc.colorado.edu
- operates through tabs in web browser
- can remember password, duo authentication
- graphical file browser, with upload/download options
- file editor and terminal windows
- ssh from your terminal
ssh -l eid@colostate.edu rc.colorado.edu- sometimes it works better
- sometimes it’s the only way to get on the system
- command line only
- need password,push DUO every time
OnDemand Walkthrough
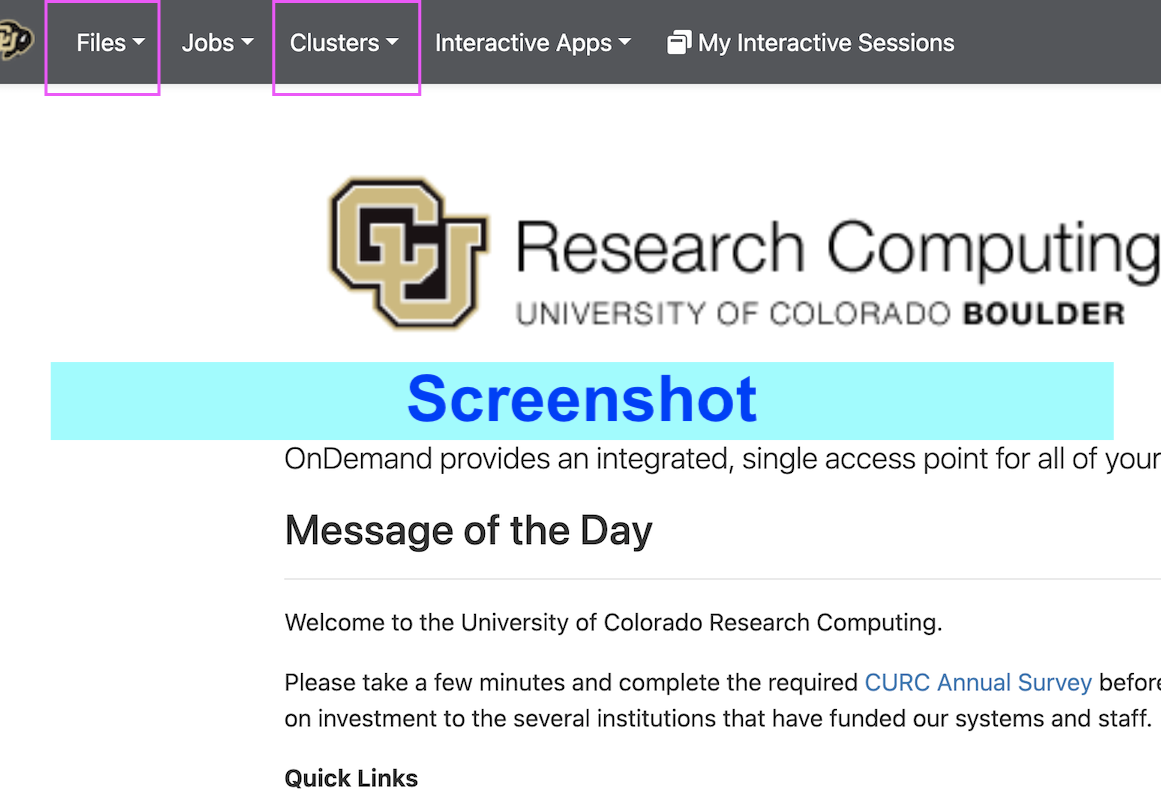
Follow the link to https://ondemand-rmacc.rc.colorado.edu click here. It should look similar to the image below:
Get there
File browser
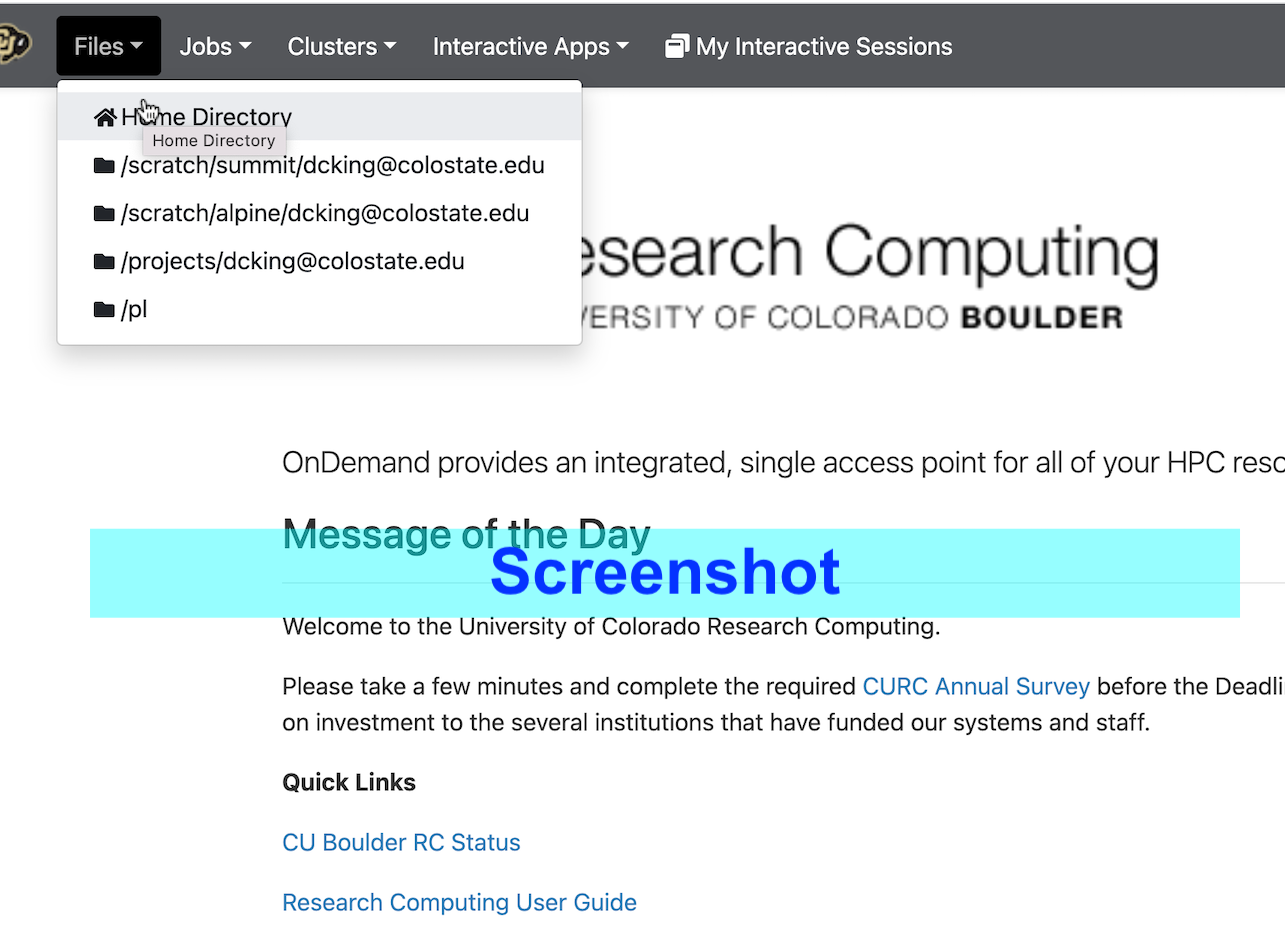
Click “Files” to see the main directories you have access to.
Clicking on “Home Directory” loads a view of the home directory.
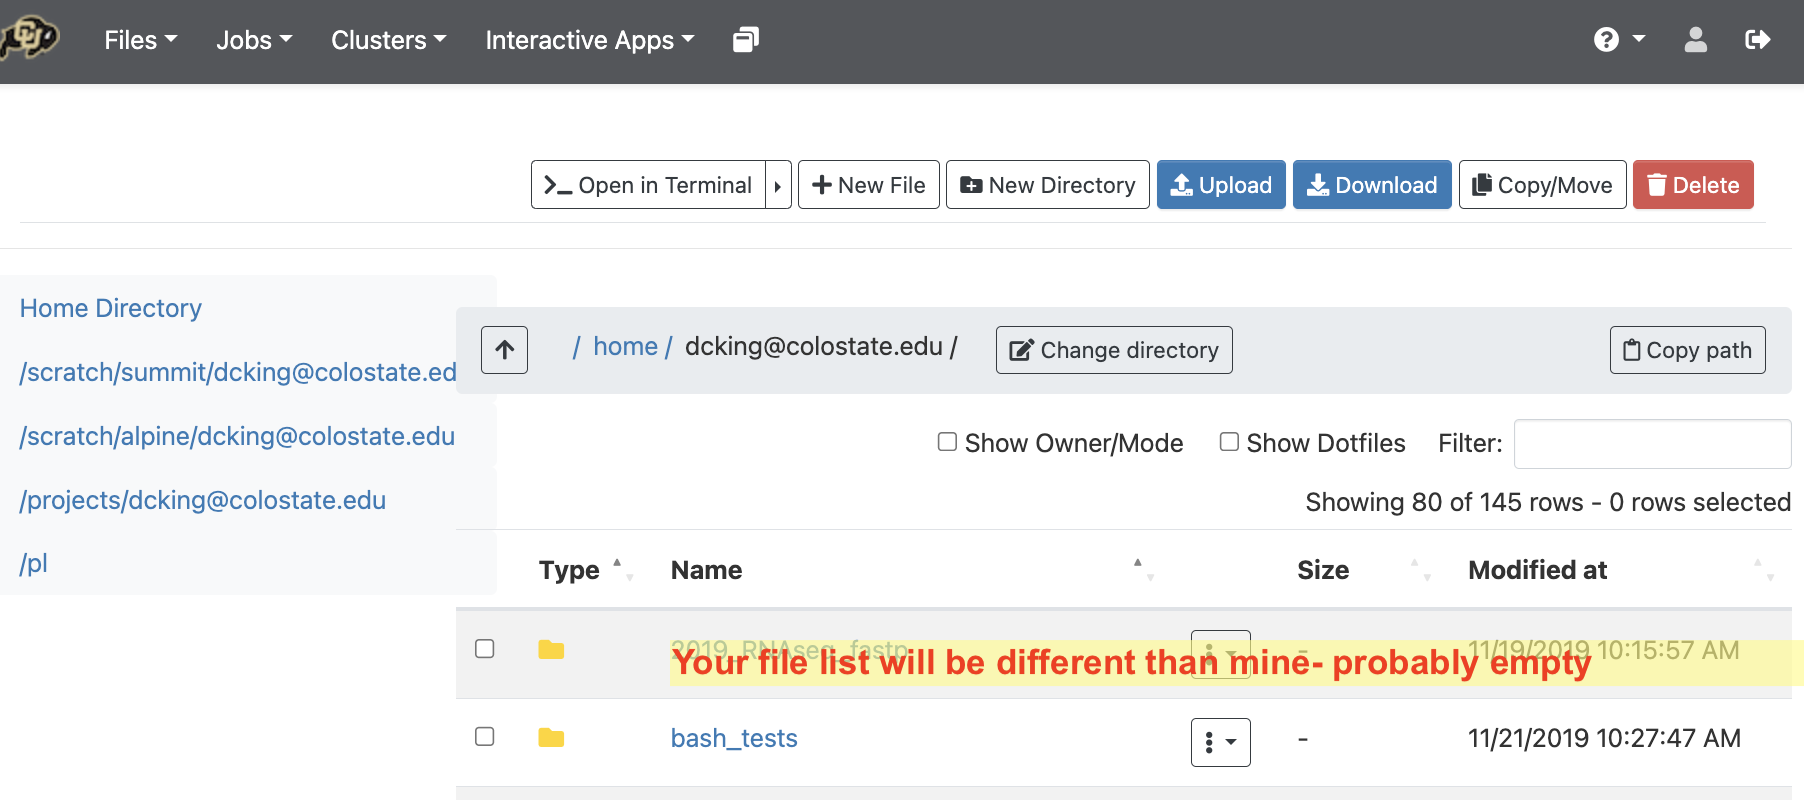
NOTE your home directory allows only 5Gb.
Click on the directory starting with /projects/youreid@colostate.edu to load that directory into your file browser.
This has 250Gb and is permanent storage. We will install programs here and do most of our work here. If it is too large, or temporary then we can use the directory starting with /scratch alpine.
Click on the directory starting with /scratch/alpine/youreid@colostate.edu to load that directory into your file browser.
This directory has 1Tb of space available to you. It is deleted after 90 days, however, so you
must have a data plan to compress it, or allow it to be deleted.
The directory starting with /pl is a larger allocation of space that your lab can buy into.
Shell window
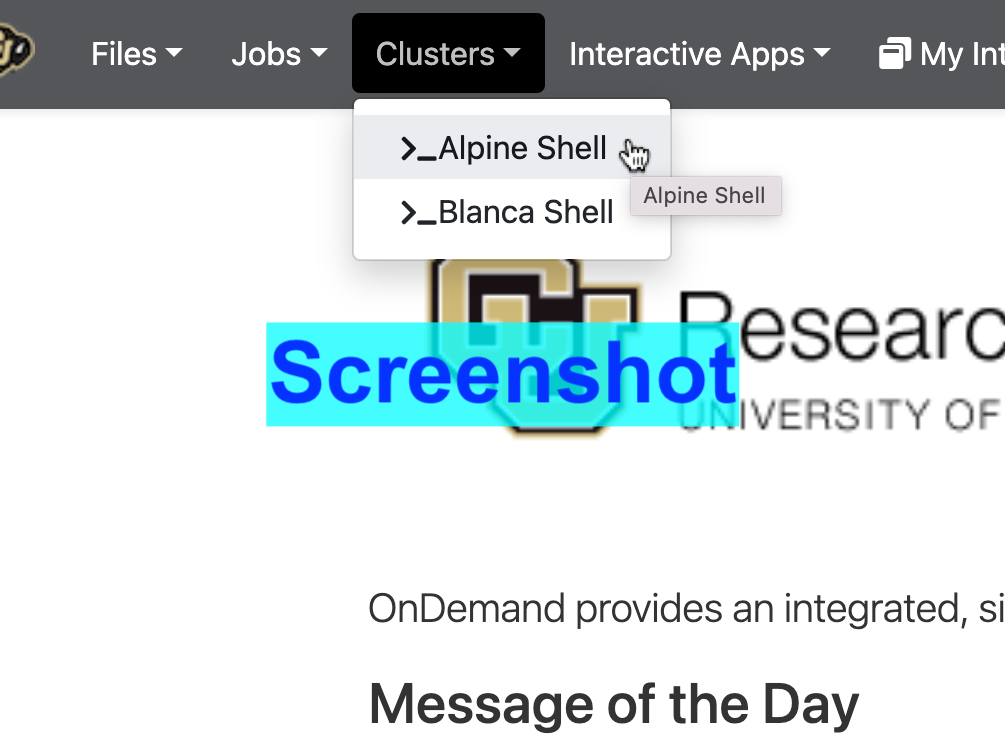
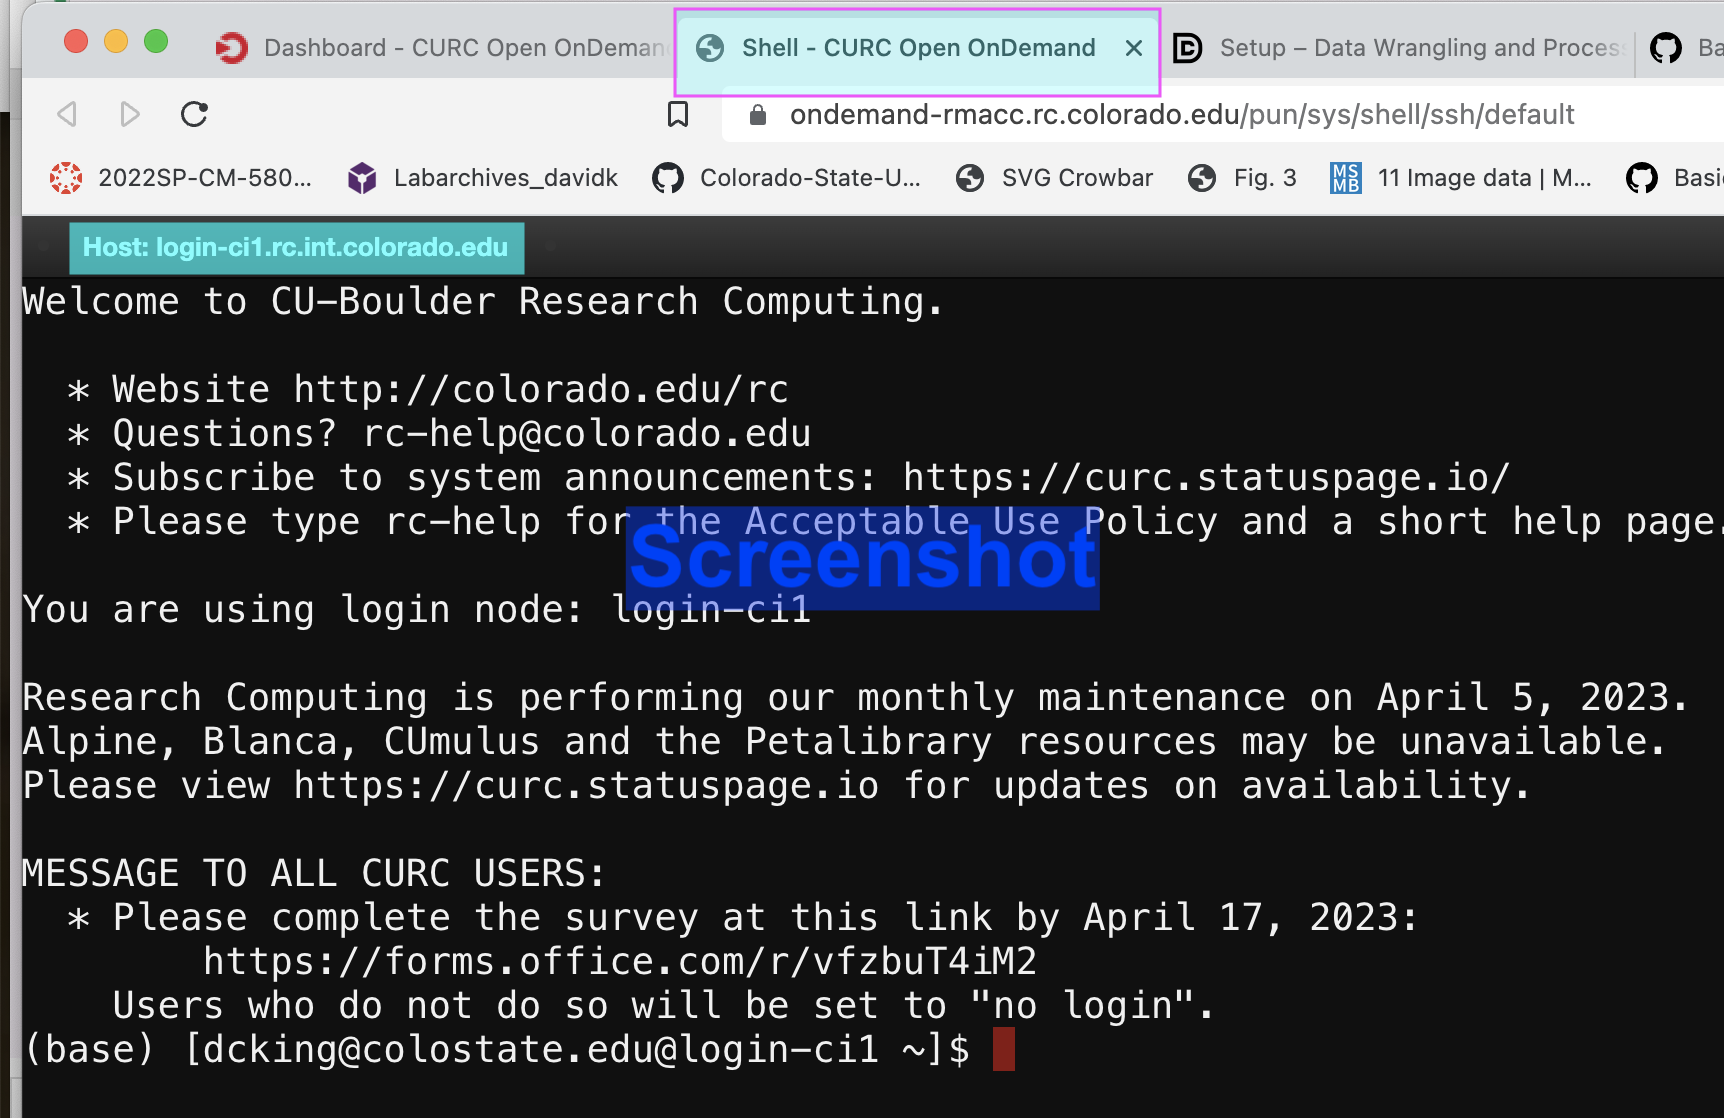
Open a new tab in your browser by going to Clusters->Alpine_shell
Setting up your account
We want to:
- Download course material using command line
git - Use the conda installer (requires special setup steps)
- Set up your directory structure in the /projects directory since it has more space (250Gb)
I have put a setup script in the repo.
Setup script
Open an Alpine_shell and do the following
Whole class do this
cd /projects/$USER
git clone https://github.com/Colorado-State-University-CMB/CM580A3-Intro-to-qCMB-2023
cd CM580A3-Intro-to-qCMB-2023/10_Alpine_HPC
New users do this
# cd /projects/$USER/CM580A3-Intro-to-qCMB-2023/10_Alpine_HPC
bash CM580A3_Alpine_setup.sh
The script does the following:
- Configures your
.condarcto download packages into your /projects space - Configures your
.condarcto add the “bioconda” channel (this is where bioinformatics programs come from) - Configures your
.bashrcto read commands from a special file which:- Sources the system conda
- Adds aliases
saandsqto check slurm jobs
For users who are already set up with conda, you can look at the script to see if you need/want to incorporate any of these actions.
Once you have run the script
then open a new Alpine_shell from the dashboard. Your prompt should start with the word (base).
Previous users if your conda is not activated by default, add the following to your .bashrc if you want to activate it when you log in:
source /curc/sw/anaconda3/latest
We’ll stop here to see what happened to everyone.
Supercomputing concepts
Submitting jobs
A cluster computer is more complicated than just logging on to a super machine. It allows us to distribute our computational workload across nodes and CPUs.
That means that all the computationally heavy work must be done in a script that is passed to a job scheduler called SLURM-the system will then distribute the work to its 10s of thousands of resources using configuration variables added to the script.
Generally, the scripts are submitted using a command called “sbatch”, as below:
EXAMPLE COMMAND
sbatch scriptname.sh
# as opposed to
bash scriptname.sh
… where scriptname.sh contains special commented lines that configure the job resources. They look like:
EXAMPLE BATCH SCRIPT HEADER
#SBATCH --ntasks=4
#SBATCH --nodes=1
#SBATCH --time=1:00:00
These “SBATCH” headers request 4 CPUs on one node, for 1 hour.
All “SBATCH” headers go beneath a line called shebang, and must come before the commands of the script.
TEMPLATE BATCH SCRIPT
#!/usr/bin/env bash
#SBATCH --ntasks=4
#SBATCH --nodes=1
#SBATCH --time=1:00:00

Command1

Command2
Installing software
Installing software can require a lot of time in order to download and compile source code.
Therefore, a special job is started in order to isolate resources.
Step 1 Initiate the compile session:
acompile --ntasks=4
You may have to wait for a few seconds. When it is ready, your prompt will return to you, but the host name will be different.
Building environments for the variant calling workflow
We will install programs into a few different environments in order to better use class time. Normally, all programs are installed into a single environment.
Step 2 Create a conda environment
for fastq and trimmomatic called qc-trim
conda create --name qc-trim fastqc trimmomatic
This message is OK: frozen solve failed
The installation tries different “solves”, but there is only an issue if the command quits.
After this step, conda will have figured out what the requested programs need, and will ask if you want to proceed.
You may get the following message:
==> WARNING: A newer version of conda exists. <==
  current version: 4.13.0
  latest version: 23.3.1
Please update conda by running
    $ conda update -n base -c defaults conda
IGNORE IT.
You will eventually see something LIKE this, but may not be exactly the same:
The following NEW packages will be INSTALLED:
  fastqc             bioconda/noarch::fastqc-0.12.1-hdfd78af_0
  font-ttf-dejavu-s~ pkgs/main/noarch::font-ttf-dejavu-sans-mono-2.37-hd3eb1b0_0
  fontconfig         pkgs/main/linux-64::fontconfig-2.14.1-h4c34cd2_2
  gdbm               pkgs/main/linux-64::gdbm-1.18-hd4cb3f1_4
  icu                pkgs/main/linux-64::icu-58.2-he6710b0_3
  libxml2            pkgs/main/linux-64::libxml2-2.10.3-hcbfbd50_0
  perl               pkgs/main/linux-64::perl-5.34.0-h5eee18b_2
Proceed ([y]/n)?
Hit enter to proceed with downloading and installation.
Once it is finished, activate the environment
Step 3 activate the environment and confirm the programs are installed.
conda activate qc-trim
Run fastqc without arguments
fastqc -h
Run trimmomatic without arguments
trimmomatic
We’ll look at those help messages in depth later. We are only verifying that we have them.
Important whenever we want to call these programs, we have to have qc-trim activated first.
Alignment and variant calling
conda create -n vcf bwa samtools bcftools
Or if that doesn’t work, do:
conda create env -n vcf bwa samtools bcftools
Challenge
Activate the environment we just created and test that the software was installed.
Solution
conda activate vcf
bwa
samtools
bcftools
The name of the environment is what we specified with the -n argument during
conda create. Whereas the names of the programs were listed next. We check that they’re installed by typing them one at a time, each their own command without arguments.
Quit the acompile session
You may now leave acompile by typing exit